Let Cloudinary handle image uploads in your Django application.
How to integrate CloudinaryField() to Django models.


Hi, everyone,
It's been a while since I uploaded my last article. I would love to tell you that I have joined Publicis Sapient six months ago as a Junior Associate Technology. And now, I have been promoted to Associate Technology L1. These first six months were so tough for me as I was new to this corporate world. I got exposed to technologies like Java, JavaScript, MongoDB, SQL and MySQL. Everything was so overwhelming, and I was unable to give time for blogging. But after spending six months working hard for the company, I decided to spare some time for my blog.
In this article, we are going to create a simple Django application called PhotoGallery where image uploads are handled by Cloudinary. The main focus of this article is to know how to integrate Cloudinary with Django models.
Cloudinary
The company provides cloud-based image and video management services. It enables users to upload, store, manage, manipulate, and deliver images and videos for websites and apps. Wikipedia
Overall, I have been using Cloudinary for a long time and would recommend it to developers who not only want to store images and videos but wants to optimise them for websites and apps.
We are going to create a Django application that displays the Images from the database and has a form to upload Images with its Alt name.
Pre-requisites
- Django
pip install Django - Cloudinary
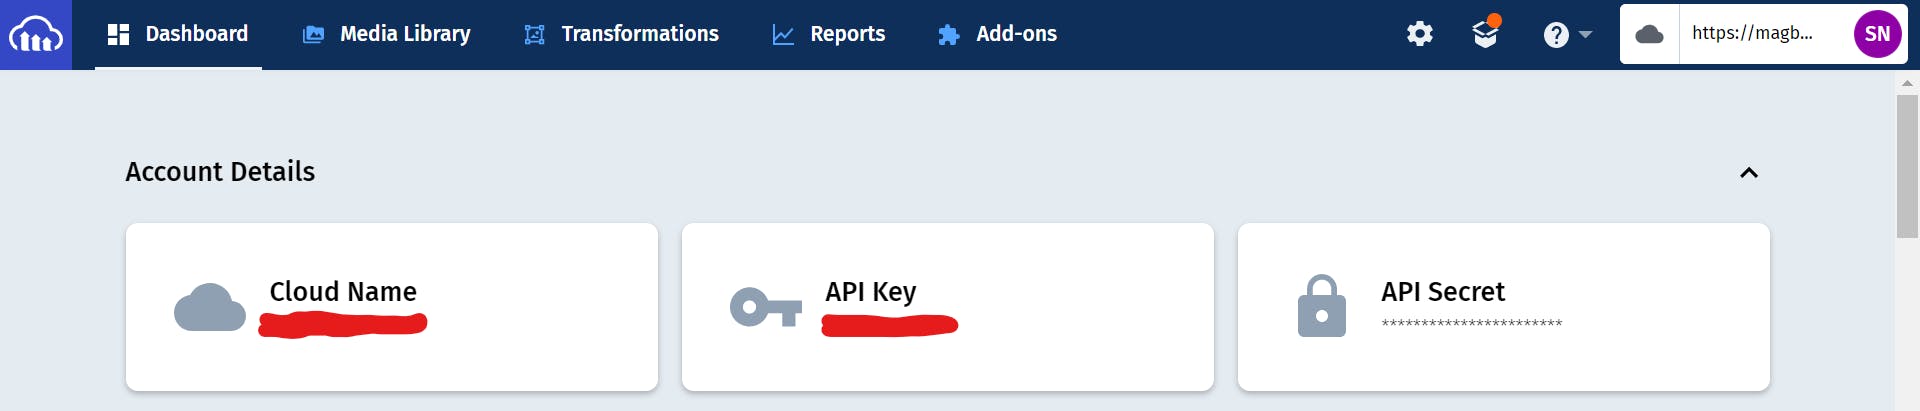
pip install cloudinary - Create an account on Cloudinary.com and note down the cloud name, API key and API secret key. We will need these to integrate the Cloudinary account with our application.
Create a Django project
If you are familiar with Django, these parts of the tutorial are piece of cake for you. Before you create a Django project, it is recommended to create a virtual environment to install dependencies for the project within the environment only. Check out the article A virtual environment in Powershell to know how to create virtual environments. Make sure to install Django using pip install Django.
Run the following command to create a Django project. I am using photogallery but you are free to use any name you want.
>> django-admin startproject photogallery
Create an app named gallery
Now that the project is created open the directory with the project name using cd photogallery. And create an app with the name gallery using the following command.
>> python manage.py startapp gallery
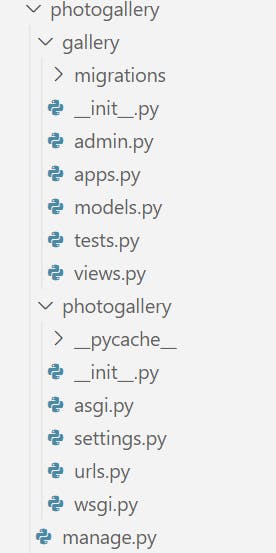
The project structure should look like this,
Add a new app to the INSTALLED_APP list in the settings.py file.
./photogallery/settings.py

INSTALLED_APPS = [
    .
    .
    'gallery',
]
Also, add cloudinary credentials we copied earlier from the website in the settings file.
./photogallery/settings.py

CLOUDINARY = {
  'cloud_name': 'your cloud name',
  'api_key': 'your cloudinary API key',
  'api_secret': 'your cloudinary API secret key',
}
Create a Model to store photos
We will create a Model named Photo with fields like image, alt and upload date. But you are free to add a few extra fields like tags and image descriptions.
./gallery/models.py

from django.db import models
from cloudinary.models import CloudinaryField

class Photo(models.Model):
    image = CloudinaryField('image')
    alt = models.CharField(max_length=200)
    uploaded = models.DateTimeField(auto_now_add=True)
You should have noticed that we added CloudinaryField instead of Django's ImageField. It's a special Field provided by Cloudinary for uploading images and videos. The first argument is the type of file expected for upload. There is a lot more you can do with this field. Check out this documentation to know more about the cloudinary fields and arguments.
Register your model Photo by adding the following code in admin.py.
./gallery/admin.py

from gallery.models import Photo

admin.site.register(Photo)
Don't forget to run the following commands, these will create migrations and new tables in the database from our models.
>> python manage.py makemigrations
>> python manage.py migrate
To quickly check how our model is working, you can create a superuser to access the admin panel. Run the following command to create a superuser. It will ask you for your username, email, and password.
>> python manage.py createsuperuser
After creating a superuser, you can run command python manage.py runserver, access the admin panel at /admin and log in using these credentials.
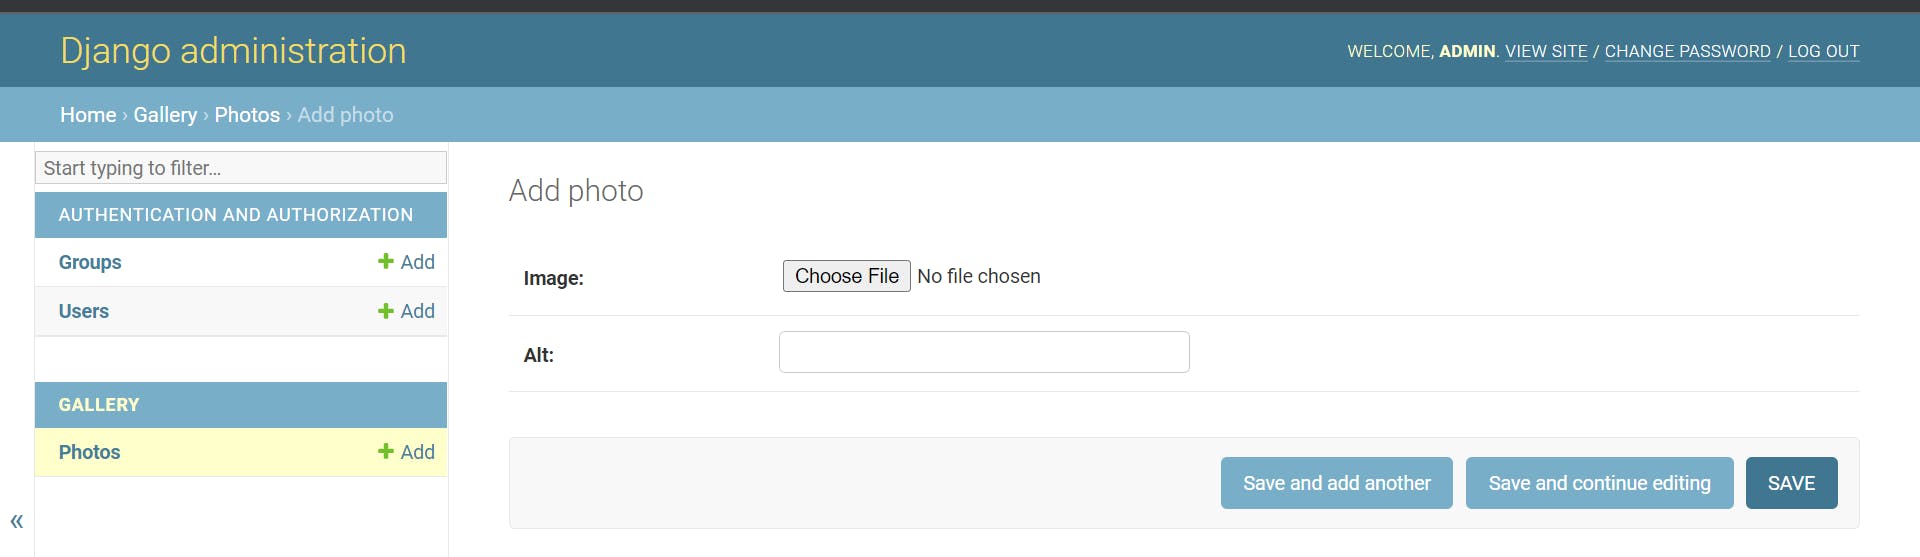
Try to upload a few images and with successful submission of the form, you should see something like this.
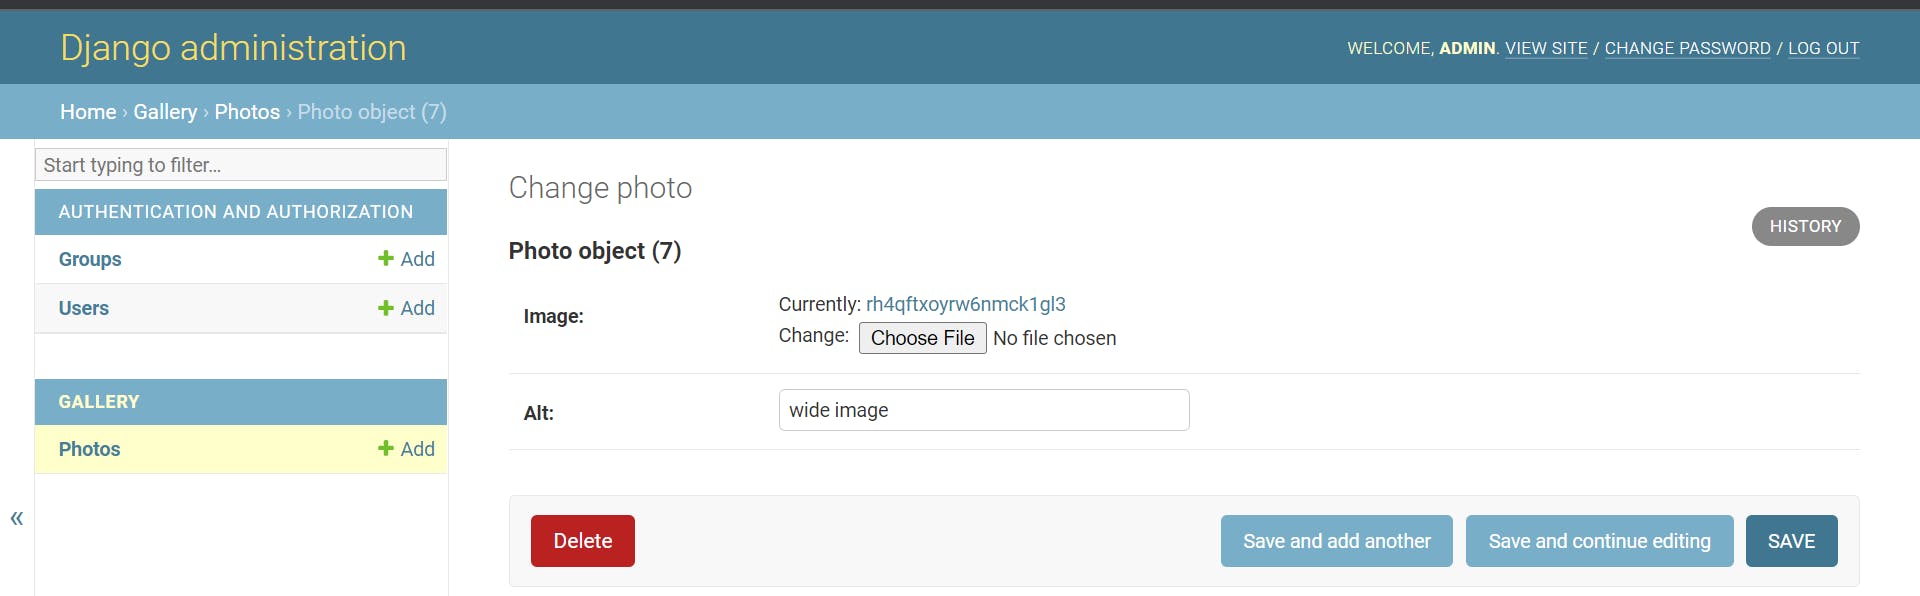
You can see that the image is saved in link form and not the image directly. I will show you how to access this image in the template later in the tutorial.
Create a form to upload photos
Let's create a simple form to upload images directly from the homepage. forms.py is not created by default so you will need to create it in the app directory. You can do a lot more with the Django forms than we did in this tutorial. Check out Django documentation to know more about Django forms.
./gallery/forms.py

from django.forms import ModelForm
from .models import Photo


class PhotoForm(ModelForm):
  class Meta:
      model = Photo
      fields = ['image', 'alt']
Create a class-based view
We are creating a class-based view that inherits Django's generic view called CreateView. We are using CreateView instead of ListView because we are passing objects as well as a form in the same view and using ListView does not allow us to render the form correctly. We have passed the Photo model, PhotoForm and a home.html template to the PhotoList view. Don't worry, we are going to create this simple template later in this tutorial.
./gallery/views.py

from django.urls import reverse
from gallery.models import Photo
from django.views.generic import CreateView
from gallery.forms import PhotoForm

class PhotoList(CreateView):
    model = Photo
    form_class = PhotoForm
    template_name = "gallery/home.html"

    def get_context_data(self, **kwargs):
        context = super(PhotoList, self).get_context_data(**kwargs)
        context['photos'] = Photo.objects.all().order_by('-uploaded')
        return context

    def get_success_url(self):
        return reverse('home')
We are passing extra objects created from our Photo model by calling the method get_context_data. Later you can access these objects in a template using the context name photos.
Add URL to homepage
In photogallery/urls.py add the following lines of code to connect our PhotoList view to the URL.
./photogallery/urls.py

from gallery.views import PhotoList

urlpatterns = [
    .
    path('', PhotoList.as_view(), name='home')
]
Create a template for the homepage
This is the last step of our tutorial. We need a template to show our photos and the PhotoForm to upload photos with alt names. We have already defined the template name in View as home.html so we will create the same in a new directory gallery/templates/gallery/home.html and add the following code.
./gallery/templates/gallery/home.html

<html lang="en">
<head>
    <meta charset="UTF-8">
    <meta http-equiv="X-UA-Compatible" content="IE=edge">
    <meta name="viewport" content="width=device-width, initial-scale=1.0">
    <title>Photo Gallery</title>
    <style>
        .grid-container {
          display: grid;
          grid-template-columns: auto auto auto auto;
          gap: 10px;
          background-color: #dadada;
          padding: 10px;
        }
    </style>
</head>
<body>
    <h1 style="text-align:center;">Photo gallery</h1>
    <div class="grid-container">
        {% for photo in photos %}
            <img src={{ photo.image.url }} alt="{{ photo.alt }}" style="width: 100%;">
        {% endfor %}
    </div>
    <br>
    <center>
        <h3>Upload your photos here.</h3>
        <form method="POST" action="" enctype="multipart/form-data">
            {% csrf_token %}
            {{ form }}
            <input type="submit" value="Submit">
        </form>
    </center>
</body>
</html>
When we created the PhotoList view, we passed an extra context photos which stores all Photo objects. That same context is referred in for loop to iterate through each object. Then each object has an image property which further has a URL property which points to the cloudinary cloud location.
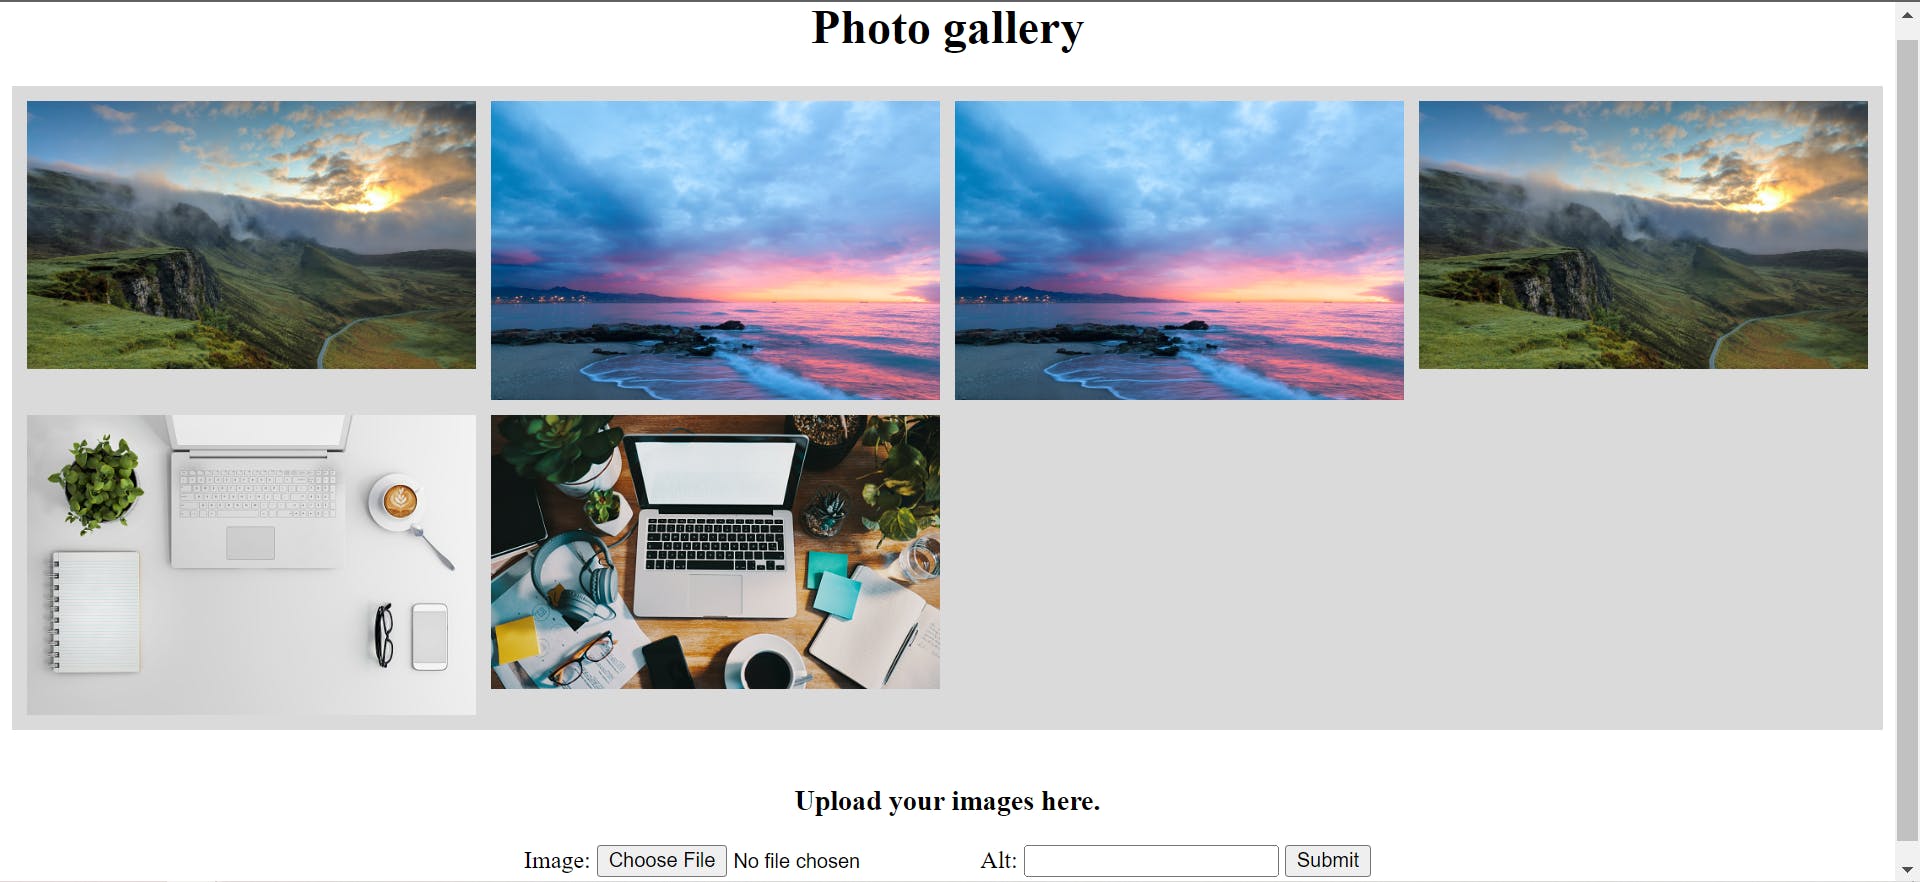
After the photo gallery, we have a simple form to upload photos. And the final application looks like the following,
And that's it, but you can not and should not stop here especially if you are a beginner. Dig deeper, check out the Django documentation and add extra features and functionalities to your application. For example, you can add authentication required for forms to restrict others from uploading photos to your gallery. Check out the GitHub repository for the source code of this project.
As I said earlier, the main focus of this article was to know how cloudinary can help us manage image uploads efficiently, hassle-free and without much integration process. All we needed is credentials and a cloudinaryField. And the bonus is that Cloudinary not only delivers the images but at the same time optimizes them. Which helps your application load faster.
I hope you found this article helpful. Please let me know if I did something wrong in this article or have any doubts regarding any step. I will be happy to help you with my knowledge and understanding.
Thanks for reading.🌻
Be better than yesterday's you!